Disciple.Tools User Documentation
Creating a New Tile
Accessing Tile Creation Functionality
WP Admin > Customizations (D.T) > [Record Type] > Tiles > Add New Tile
To access the tile creation functionality, follow these steps:
- Navigate to the WordPress Admin dashboard of your Disciple.Tools instance.
- Click the settings icon (⚙️ on desktop, ☰ on mobile) and select Admin.
- From the main left sidebar, click on Customizations (D.T).
- Identify and click on record type to be updated.
- Navigate to
Tilestab. - Click on
add new tileoption at the bottom of tab view.
New Tile Workflow
To create a new tile:
- Select a record type from the top of the Customizations page.
- At the bottom of the tiles list, click add new tile.
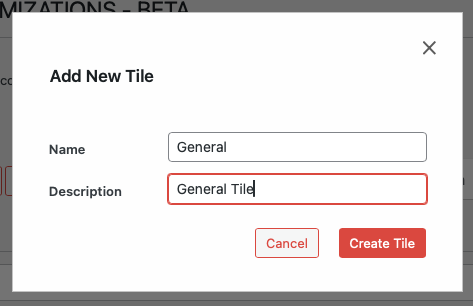
- Fill in the tile details:
- Name: Display name for the tile
- Description: Summary description of new tile
- Click Create Tile to add the new tile.