Disciple.Tools User Documentation
Modifying Existing Fields
Accessing Edit Field Functionality
WP Admin > Customizations (D.T) > [Record Type] > Tiles > [Tile] > [Field] > Edit Field
To access the edit field functionality, follow these steps:
- Navigate to the WordPress Admin dashboard of your Disciple.Tools instance.
- Click the settings icon (⚙️ on desktop, ☰ on mobile) and select Admin.
- From the main left sidebar, click on Customizations (D.T).
- Identify and select record type to be updated.
- Navigate to
Tilestab. - Identify tile containing existing field to be updated.
- Expand tile field list and click edit option associated with field to be updated.
Edit Field Workflow
You can update the label, description, icon, tile assignment, and visibility of any field.
To edit an existing field:
- Expand the tile containing the field.
- Click on the edit icon next to the field name.
- Update the field details as needed:
- Field Name: Change the display name for the field and optionally specify translation.
- Description: Update the help text and optionally specify translation.
- Translations: Click on the translation button next to both name and description fields, to capture different languages. A total count of translations is also provided as part of the button label.
- Tile: Move the field to a different tile.
- Icon: Change or add an icon for the field.
- Hide Field: Hide the field without deleting it.
- Default in List Table: Display the field in the list view.
- Default in Creation: Show the field by default when creating a new record.
- Show For: Visibility options determining when/where field is to be displyed; typically across the following views:
- User
- Private Contact
- Standard Contact
- Connection
- Private Connection
- Click Save to store changes.
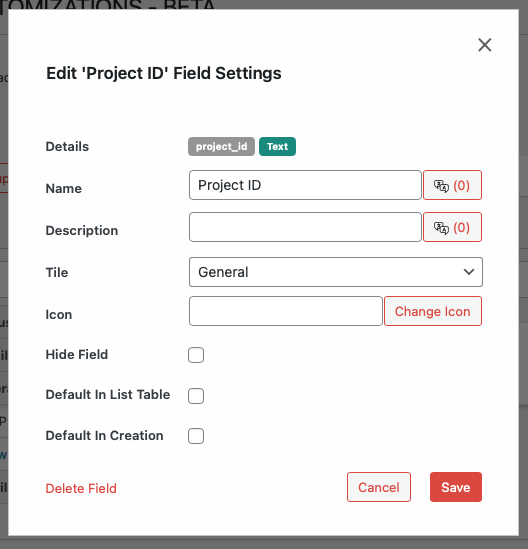
- To delete field, click Delete Field option; which is optionally displayed for custom fields.