Disciple.Tools User Documentation
Change Profile Picture
Learn how to upload or change your profile picture in Disciple.Tools.
Overview
Disciple.Tools supports profile pictures through two different systems depending on your site’s configuration:
- S3 Storage Upload - Upload images directly to secure cloud storage when S3 connection is enabled
- Gravatar Integration - Use Gravatar service when S3 storage is not available
How to Change Your Profile Picture
1. Access Your Profile
On Desktop Click on your display name in the top right corner of the screen to go to your profile settings.
On Mobile
- Click the hamburger menu icon (☰) in the top right corner.
- Click Settings.
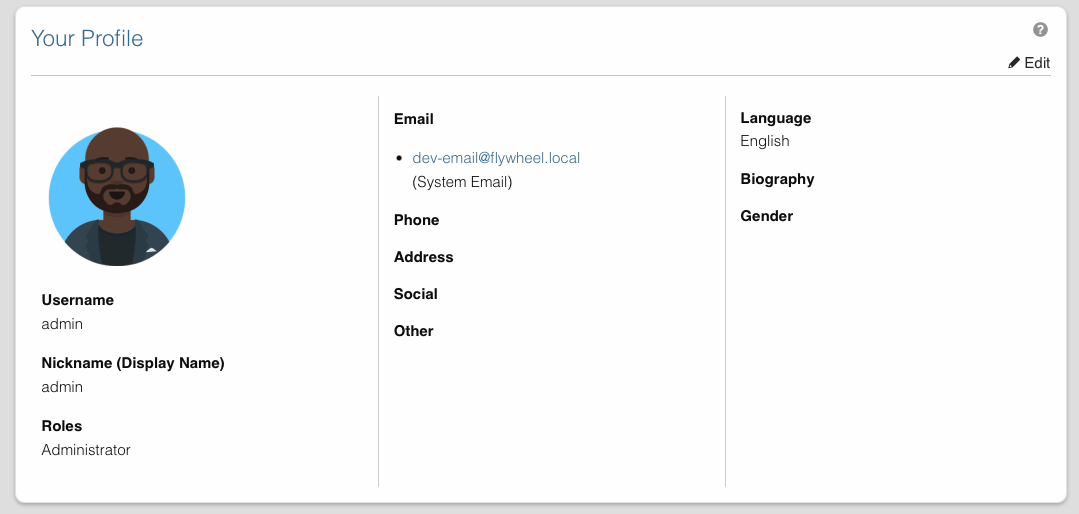
2. Open the Edit Modal
- On the settings page, locate the “Profile” section
- Click the “Edit” button to open the edit profile modal
- The modal will display your current profile picture at the top
3. Change Your Profile Picture
The profile picture options depend on your site’s storage configuration:
Option A: S3 Storage Upload (When Storage is Enabled)
If your site has S3 storage connections enabled, you will see:
- Current Picture Display: Your existing profile picture (or default avatar) appears at 100px width
- Upload Section: Text reading “Upload new profile image”
- File Input: A button to select your image file
- Accepted Formats:
.gif,.jpg,.jpeg,.pngfiles only - Secure Storage: Files are stored privately in your configured S3 bucket

To upload a new picture:
- Click on the file input field
- Select an image file from your device (GIF, JPG, JPEG, or PNG format)
- The file will be selected for upload
- Click the “Save” button at the bottom of the modal
S3 Storage Benefits:
- Secure Storage: Your profile picture is stored privately in cloud storage
- Automatic Thumbnails: System generates optimized thumbnails for display
- Access Control: Only authorized users can view your profile picture
- Backup Protection: Files are safely stored in redundant cloud storage
Option B: Gravatar Integration (Default)
If storage connections are not enabled, you will see:
- Current Picture Display: Your Gravatar or default avatar at 32px size
- Gravatar Link: Text reading “edit image on gravatar.com” with a link icon
- Tooltip Information: Hover over the link to see security recommendations
To change via Gravatar:
- Click on the “edit image on gravatar.com” link
- This opens Gravatar.com in a new tab
- Create a Gravatar account or log in with your existing account
- Upload your desired profile image to Gravatar
- Associate the image with the email address used in your Disciple.Tools account
- Return to Disciple.Tools - your new Gravatar will appear automatically
4. Save Changes
- After uploading a file (direct upload) or setting up Gravatar, click the “Save” button
- The modal will close and your profile will be updated
- Your new profile picture will appear in the Profile section
Security and Privacy Recommendations
Disciple.Tools displays the following security guidance for profile pictures:
For S3 Storage Systems:
“Disciple.Tools System does not store images. All media assets will be placed within specified media connection storage service. If you have security concerns, we suggest not using a personal photo, but instead choose a cartoon, abstract, or alias photo to represent you.”
For Gravatar Systems:
“Disciple.Tools System does not store images. For profile images we use Gravatar (Globally Recognized Avatar). If you have security concerns, we suggest not using a personal photo, but instead choose a cartoon, abstract, or alias photo to represent you.”
S3 Storage Security Features
When using S3 storage for profile pictures, your images benefit from:
- Private Storage: Images are not publicly accessible
- Encrypted Transfer: All uploads use secure HTTPS connections
- Access Control: Only authorized users can view your profile picture
- Secure URLs: Temporary, time-limited access links for viewing
Troubleshooting
Profile Picture Not Updating
- Clear browser cache and refresh the page
- Check file format - ensure you’re using GIF, JPG, JPEG, or PNG
- Verify file size - very large files may fail to upload
- For Gravatar: Ensure the image is associated with the correct email address
Upload Button Not Visible
If you don’t see an upload option:
- Your site uses Gravatar integration instead of S3 storage uploads
- Contact your administrator if you need S3 storage capabilities
- Use the Gravatar method described above
Gravatar Not Appearing
- Email match: Ensure your Gravatar email exactly matches your Disciple.Tools system email
- Gravatar approval: New images may take time to appear
- Rating settings: Check that your image meets Gravatar’s rating requirements
Related Settings
- Change System Email - Update the email address used for Gravatar
- Edit Personal Information - Modify other profile details
- Change User Language - Set your interface language preferences
Related Documentation
- S3 Storage Settings - Learn about S3 storage configuration
- S3 Storage Setup Guide - Detailed setup instructions
- S3 Storage Usage Guide - User interface features